You’ve got the next great business idea for an app, service, ebook, product, etc. and want to put up a landing page to gauge interest. At the same time, you want something that’s low effort, but also free.
Gatsby and Netlify Forms is the solution to this in four easy steps.
1. Download a Gatsby starter template
Gatsby is a static site generator based in React.
They have several landing page templates you can choose from. For this tutorial, you will be using the this simple one page marketing starter for SaaS
As a first step, install the Gatsby CLI if you don’t already have it
npm install -g gatsby-cliNext, start a new Gatsby project using using the starter I just mentioned
gatsby new my-gatsby-project https://github.com/keegn/gatsby-starter-saas-marketing2. Setup Netlify Forms
Netlify is a static hosting platform that offers a feature called Netlify Forms. They manage forms and submissions all within a dashboard for you. All you need to do is sprinkle in a bit of magic into your existing HTML forms and Netlify will take care of the rest. Note, you are allowed up to 100 form submissions per month for free. Anything over that will incur an added monthly fee.
- Add the
netlifyattribute to your form
Open up the Gatsby project and open the header.js file. Find the <HeaderForm> component and add the data-netlify=“true” . It should now should look like the following when you are done.
<HeaderForm name="contact" data-netlify="true">
  <HeaderInput placeholder="Your" email” />
  <HeaderButton>Early access</HeaderButton>
</HeaderForm>
3. Add a hidden input field to your form
In a normal static HTML file, Netlify looks for the data-netlify attribute. When you deploy to Netlify, the attribute is removed and a hidden input tag is inserted. In this case, since you are using a JSX form, the hidden input field will needed to be added manually.
<HeaderForm name="contact" data-netlify="true">
  <input type="hidden" name="form-name" value="contact" />
  <HeaderInput placeholder="Your" email” />
  <HeaderButton>Early access</HeaderButton>
</HeaderForm>
4. Build and deploy to Netlify
In this final step, create a production version of your code that’s ready for deployment
gatsby buildNext, download and install the netlify CLI package to deploy from the command line
npm i netlify-cli -gOnce installed, deploy your code by running this command from the root directory of your Gatsby project in your terminal
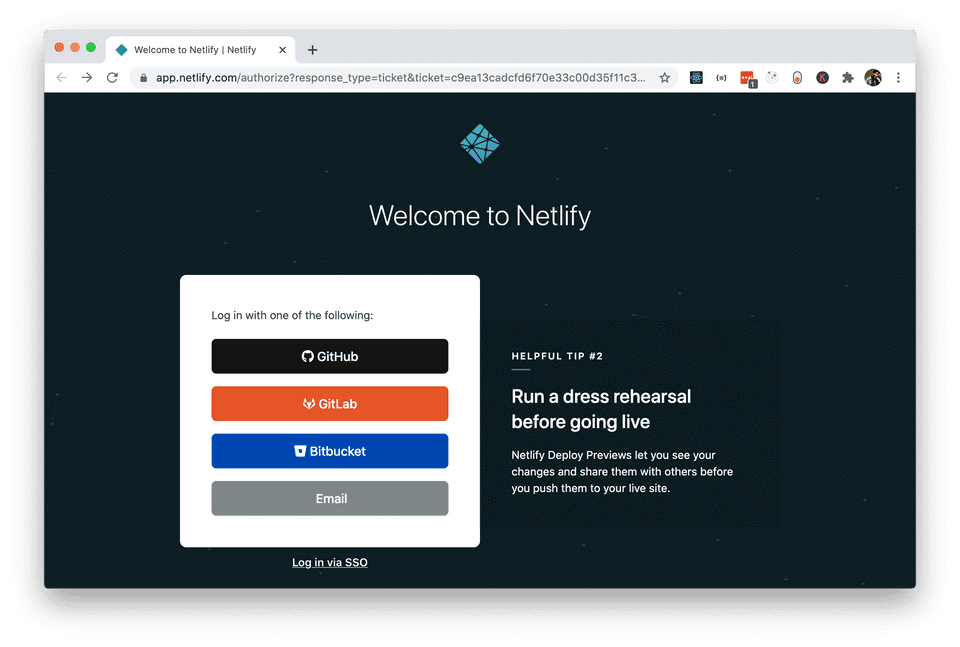
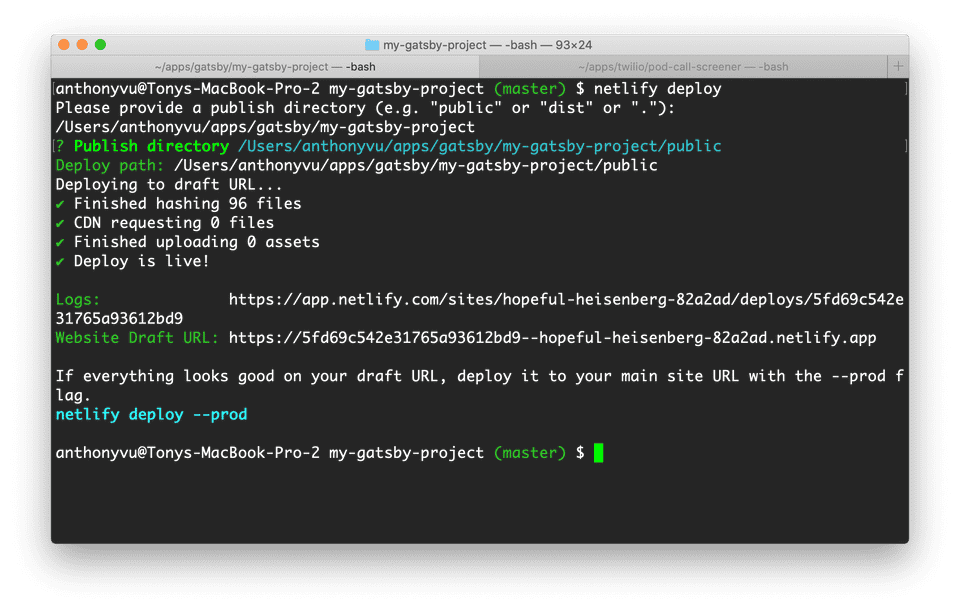
netlify deployYour browser will then open and prompt you to create login with a Netlify account. If you don’t have one, you can create one for free on the login page.
Once you log in, switch back to your terminal and simply answers the prompts from the wizard to deploy your site. Specify public as your publish directory.
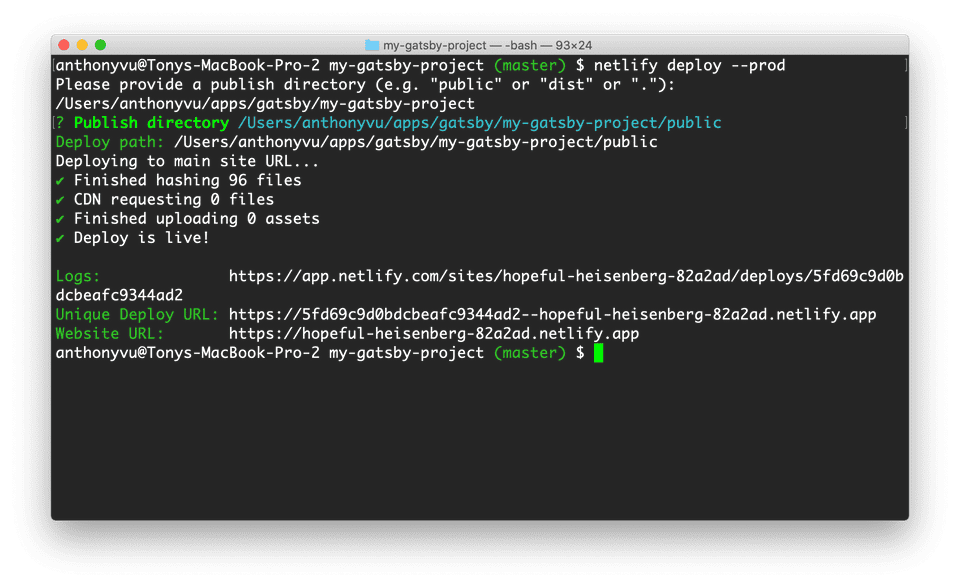
When the deploy completes, you will be given a draft URL where you can view changes before making it live. Once you are happy with the draft, simply deploy it to production
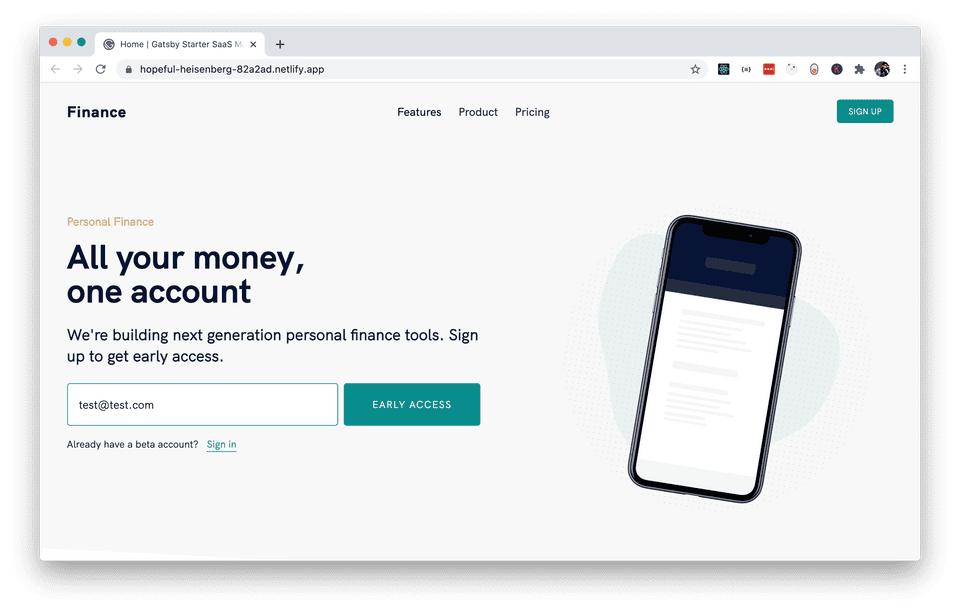
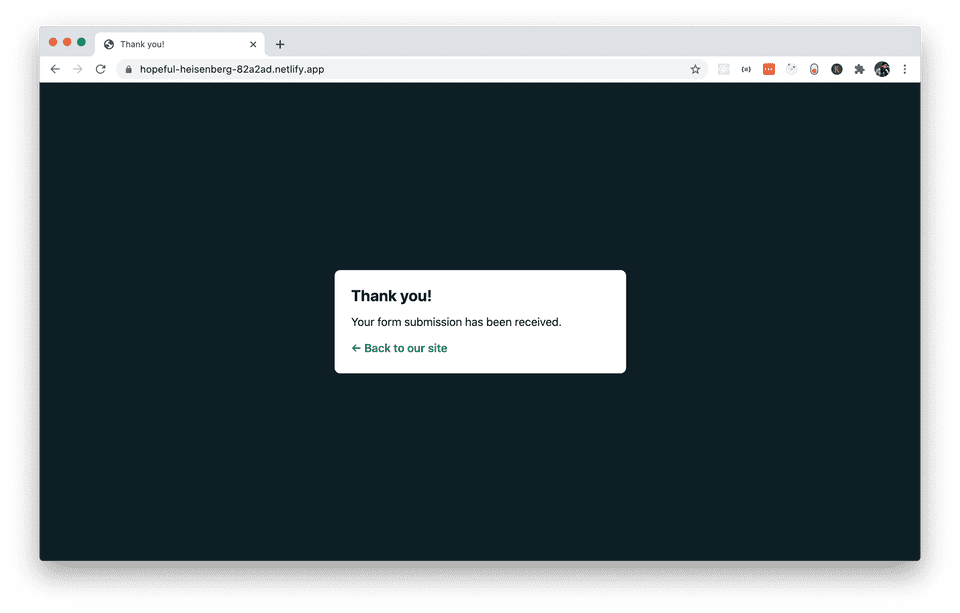
netlify deploy --prodMake note of the website URL when the deploy completes so that you can test out a submission. Open that URL in your browser and submit an email as I’ve done below.
If you entered a valid email and the submission was successful, you will then be taken to a submission confirmation page. Another nice thing is Netlify Form’s take care of this for you out of the box. No other configuration neeeded.
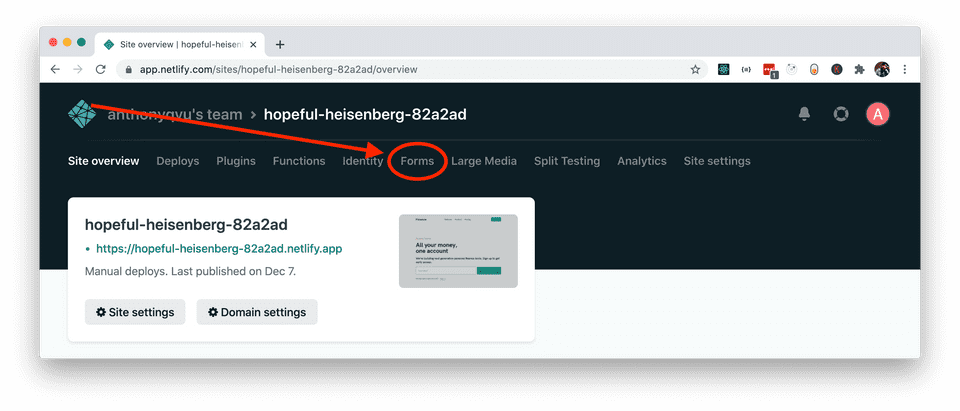
You can then view your submissions by logging in to your Netlify account in a browser and clicking on your site on the Netlify dashboard. This will then take you to the site overview page. From there, click on the “Forms” link near the top.
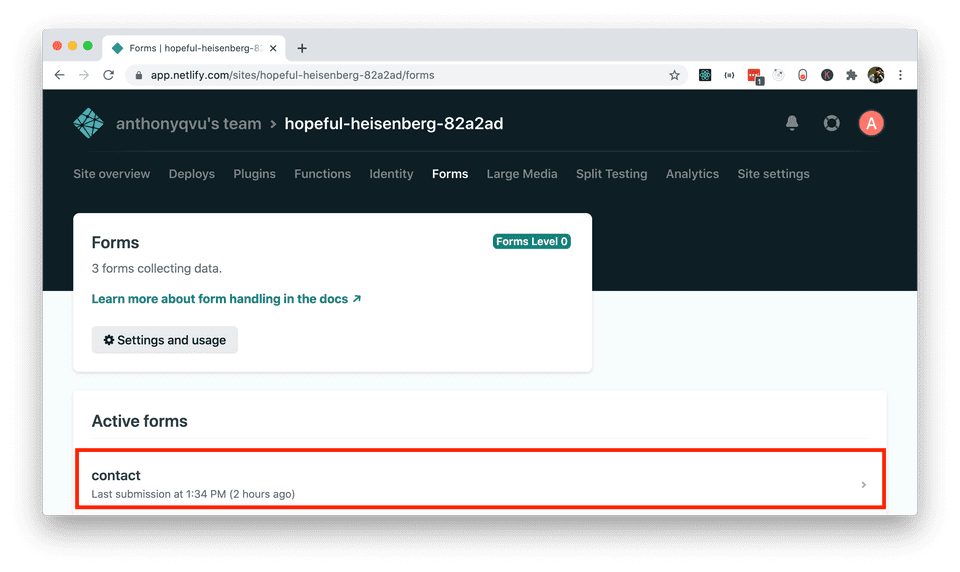
You should then seen a form named “contact” under the list of active forms. This name comes from the name attribute you provided to your HTML form earlier.
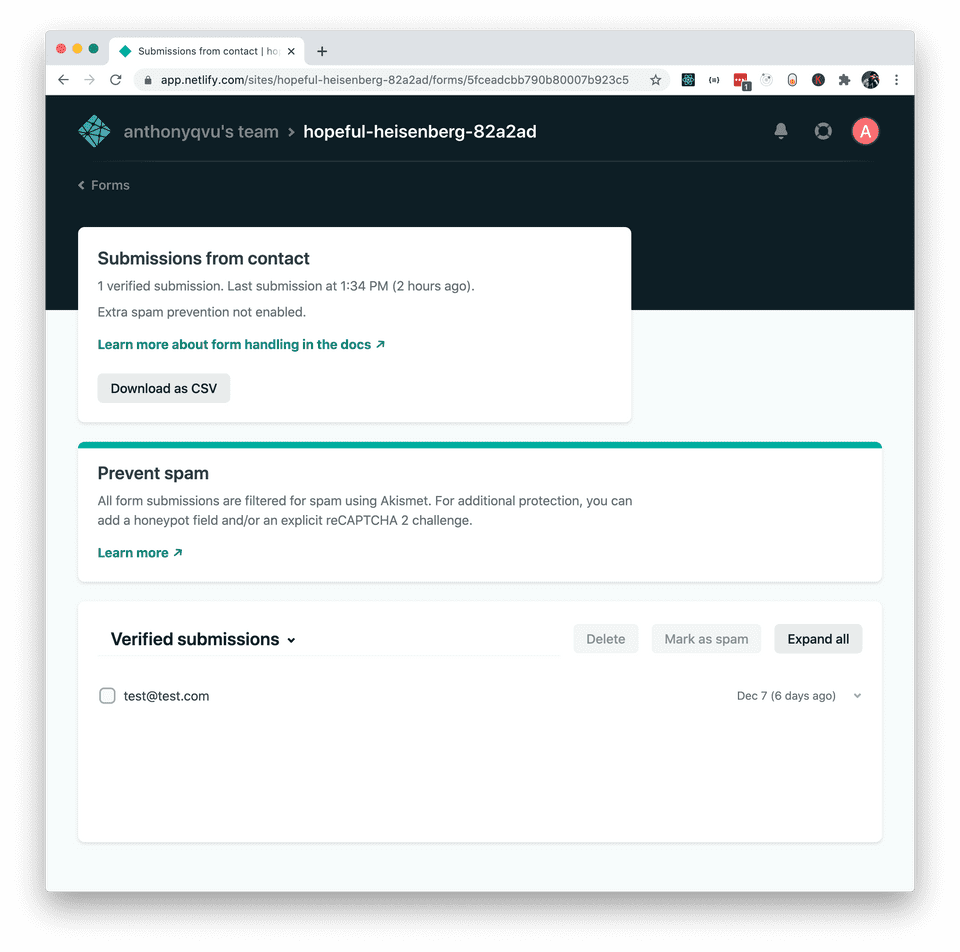
On the next screen, you should see the email you submitted. If you don’t see it, click the dropdown caret next to “Verified submissions” and select “Spam submissions”. Netlify Forms automatically filters spam submissions.
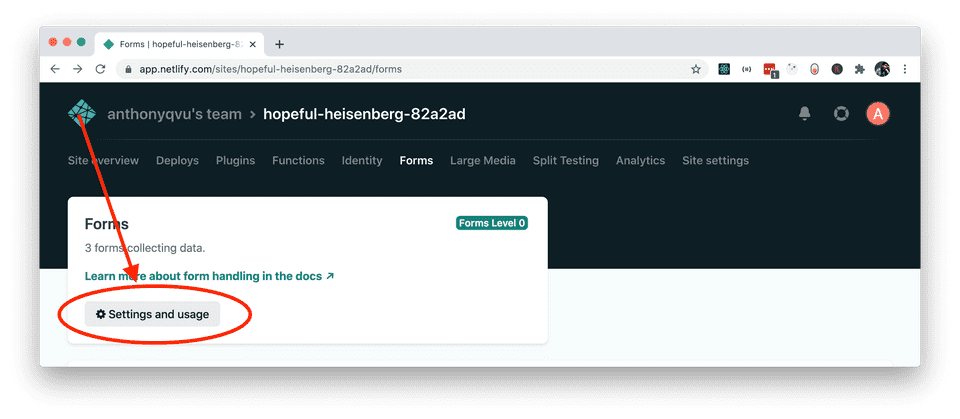
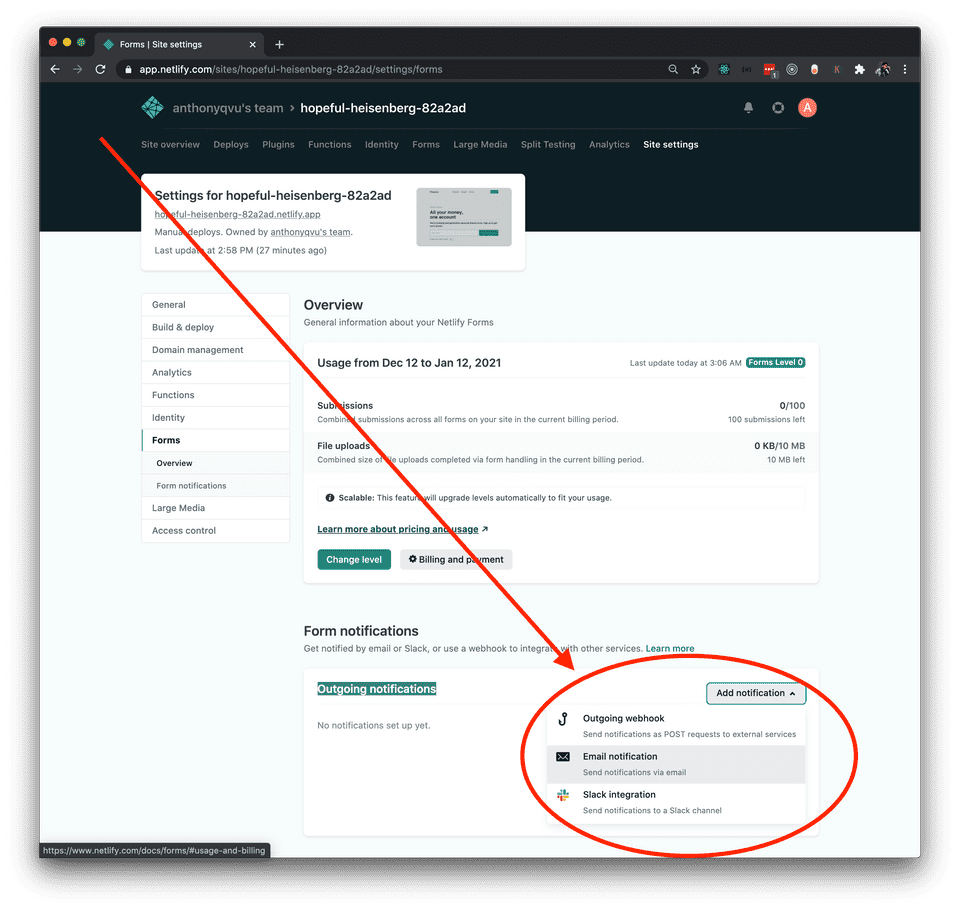
You should be all set at this point! As an added step, if you want to turn on email notifications for form submissions on your site, click on “Setting and usage” under the “Forms” link you clicked on earlier.
Once there, look for the “Form notifications” towards the bottom of the page. Click on “Add notification” => “Email notification”.
Did this post help you or do you have any comments or questions? Email me at hey@tonyvu.co or Tweet me at @tonyv00
